

Cubase Pro 13 Tutorial 1-2: Exploring Cubase Hub
2024.04.12·Steinberg Cubase·4 min readMUZIUM
Also available in:
English···

In this tutorial post, we take an in-depth look at the Cubase Hub. In the Cubase Hub, you can check the latest Steinberg-related news and updates, and you can also create new projects.
The environment used in this tutorial is Windows 10 Pro.
First, let's launch Cubase 😀
Launching Cubase

When you launch Cubase, the first thing you'll see is the loading screen. The very first time you run it, loading may take quite a while. In particular, the more third-party plugins you have installed, the longer it will take. Depending on your system, it can take anywhere from 3 to 10 minutes.
Cubase Hub
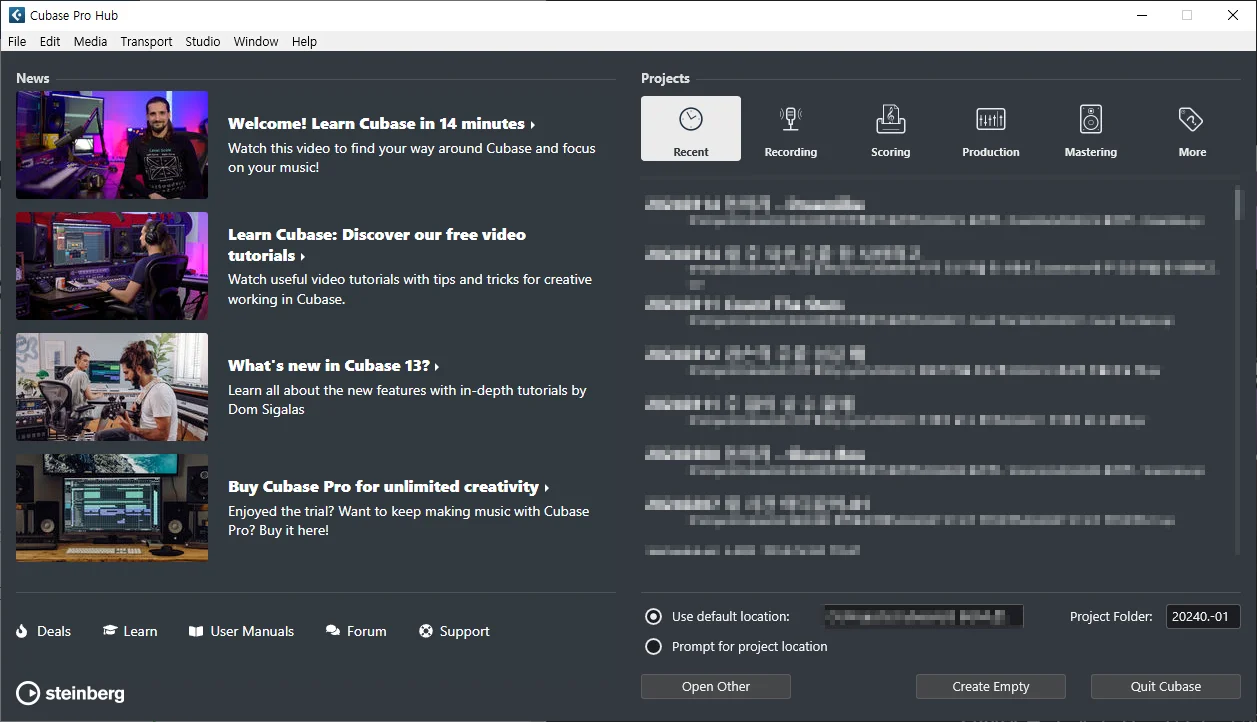
After the loading screen, the Cubase Hub window will appear. On the left side, you can access links to Cubase-related updates, news, manuals, forums, and more.
Clicking the Learn link will bring up short tutorial videos posted on the official Cubase YouTube channel, so browsing through them will give you a brief overview of the features available.
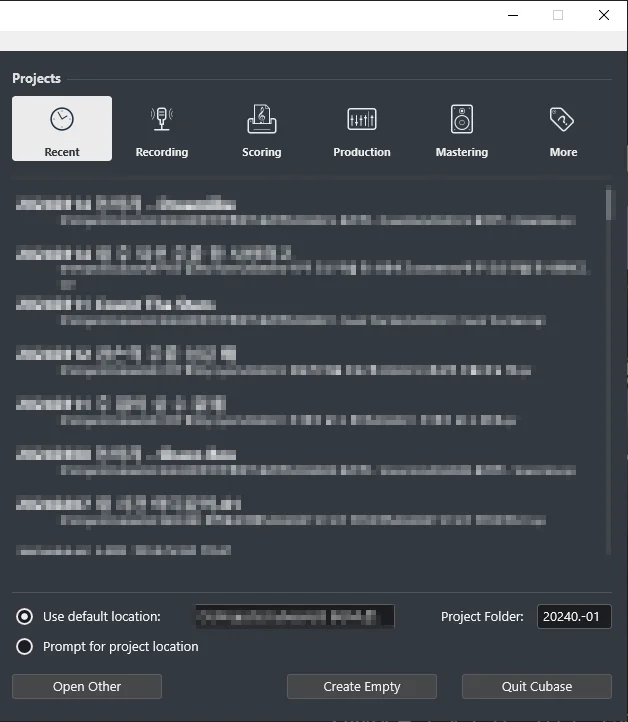
Looking at the right side of the Hub window, you'll find several tabs.
From Recording through Mastering, there are basic template presets available. Feel free to open each one, and if you'd prefer to use only templates you create yourself, it's perfectly fine to delete the default ones.
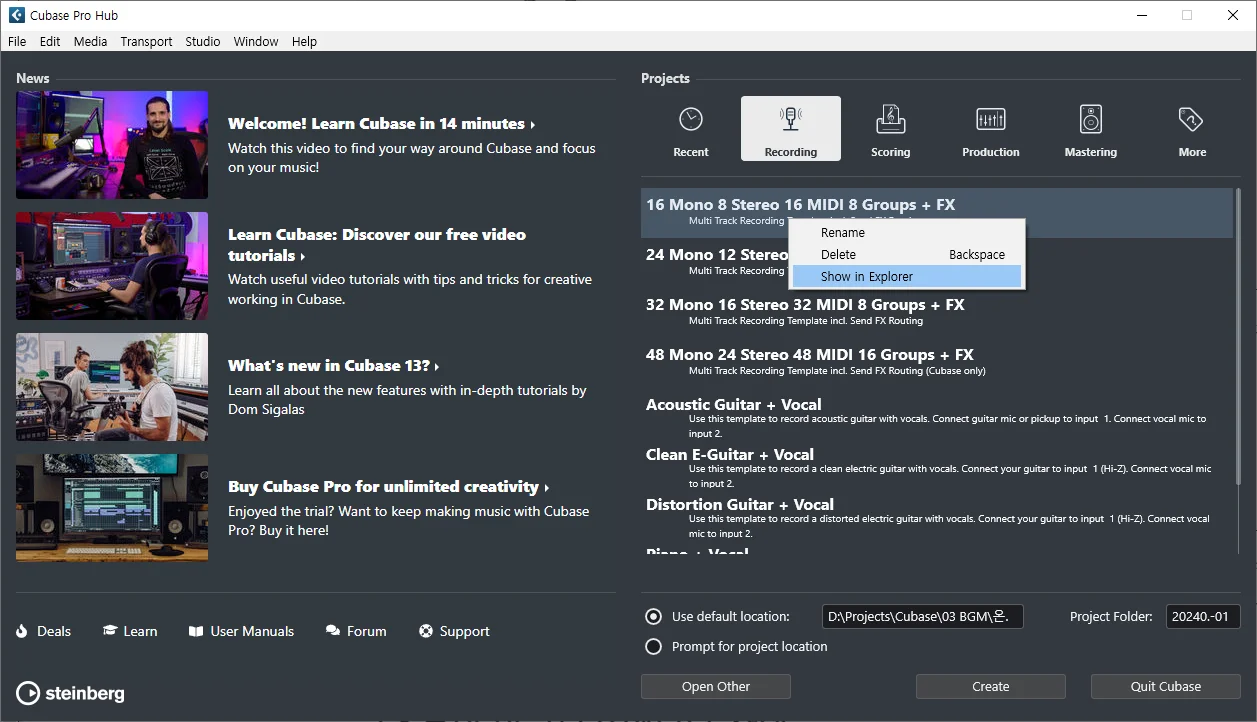
If you want to delete just one template, go to the corresponding tab, right-click the template, and click Delete to remove it.
If you want to delete all default templates, go to Show In Explorer and delete all the templates from there.
It's also a good idea to back them up separately just in case.
When creating a new template, you can assign it to one of the following tabs: Recording / Scoring / Production / Mastering / More. We'll cover this process in the next tutorial.
Creating a New Project
Now let's start a new project in Cubase. We'll create one by selecting Empty from the last tab, the More tab. Before that, it's important to understand the concept of a project folder.
Project Folder
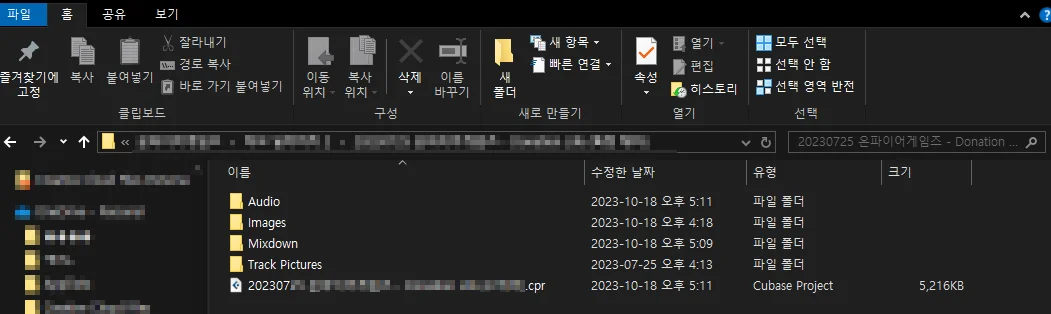
A Cubase project folder is the backbone of its project. Inside the project folder, various files and subfolders are created.
Project File: Has the .cpr extension. You can open the project by running this file or opening it from within Cubase.
Audio Folder: Audio files that are newly recorded or imported in the project are stored in this folder.
Images Folder: Stores waveform image data for audio files. Within the project, waveform images allow you to visually manage information such as volume, fades, and length of each audio region.
Mixdown Folder: This is where exported audio files are saved. While you can choose a custom path when exporting, this folder makes it convenient to manage your project files.
Backup File: Has the .bak extension and is automatically generated periodically according to your Cubase settings. If you use Hancom Hangul, the default program association may be set to Hangul — in that case, right-click the file, choose Open With, and select Cubase, or open it from within Cubase via File - Open.
A folder containing all these various files and subfolders is called a project folder. When moving, backing up, or sharing a project file, you must treat the entire project folder as a single unit. This ensures that all files used in the project are accounted for and the project functions correctly.
Managing Your Project Folder
That's why, when working with Cubase, it's important to develop a habit of keeping your project folders well organized. It's essentially a must. Everyone may have their own way of managing them, but at the very least, it's a good idea to include the date and project name.
Setting the Project Folder Path
First, decide where you want to save the project file. At the bottom of the Hub window, select Use default location to activate the path field on the right. Clicking that field (the one blurred out in the screenshot) will open a Windows Explorer-like dialog where you can specify the save location.
(It's convenient to designate a dedicated location just for your Cubase project files. Each time you start a new project, the number of files can grow considerably.)
Building Good Project Management Habits
Next, click the text box to the right of Project Folder and type in a project name. As mentioned above, including at least the date + project name will make things much easier down the road. Then select all the text you've typed (ctrl+a) and copy it (ctrl+c). I'll explain why in just a moment. Once you've copied it, click Create Empty.
The First Thing to Do: Save Your Project
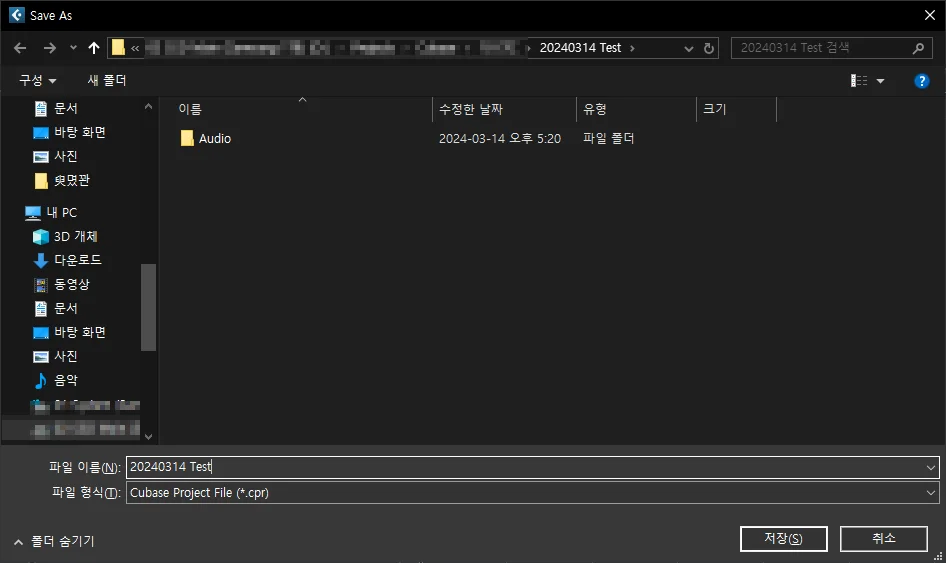
Once you've opened the new project, press save (ctrl+s) first! Then paste (ctrl+v) the project name you copied a moment ago, and save (enter).
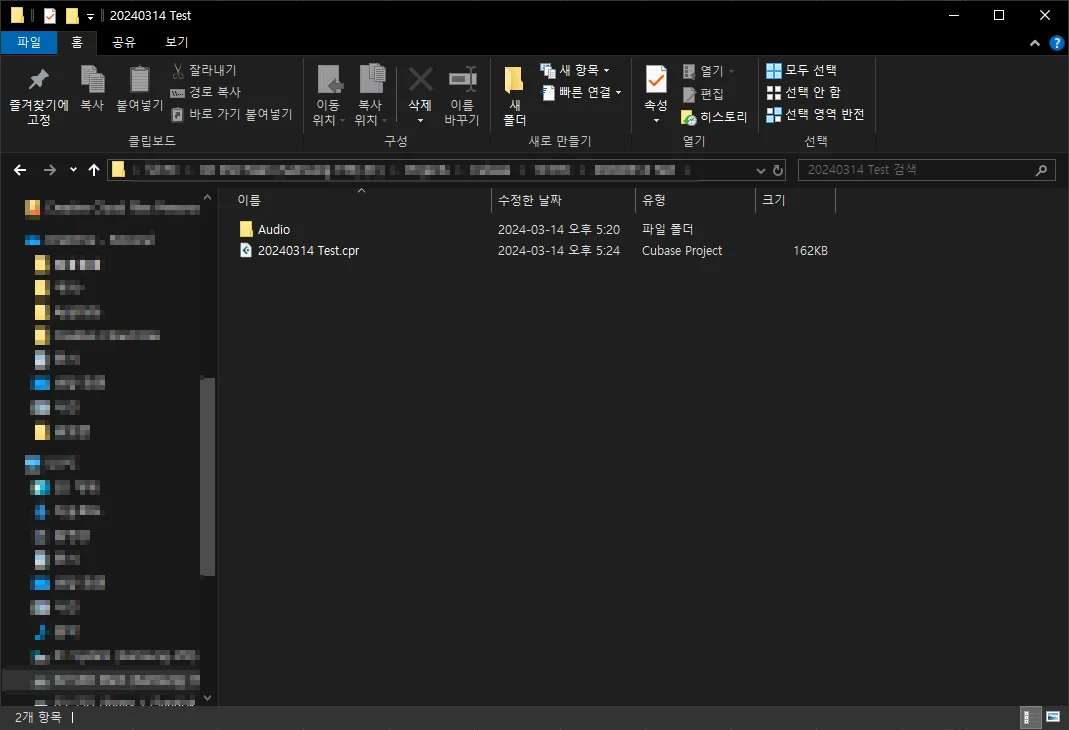
As shown in the screenshot, you'll be able to confirm that a (project name).cpr file and an Audio folder have been created inside the project folder.
The Images and Mixdown folders will be created once you record or import audio files into the project.
That covers the process of creating a new project. We walked through deciding where to store the project folder, matching the file name with the folder name, and saving the project to generate the project file.
In the next tutorial, we'll continue with the process of creating your own custom default template.
Thank you.